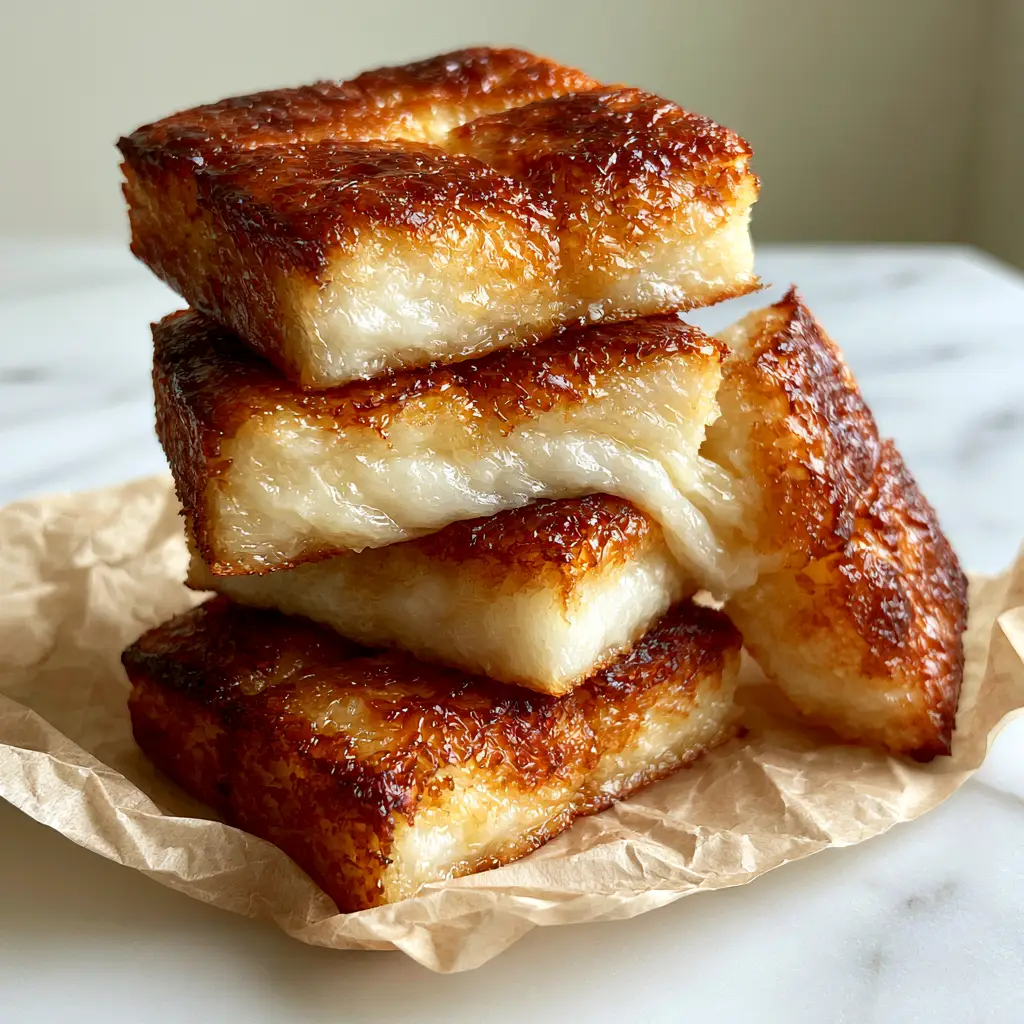
Mochi is the ultimate comfort treat, and this specific Hawaiian Butter Mochi version is about to become your new obsession. If you have been scrolling through Pinterest looking for that perfect, dense white elastic mochi center paired with a baked golden-brown caramelized top, you have finally arrived. This recipe delivers a handheld slice of paradise that balances a melted butter sheen with the iconic “Q-texture” that every mochi lover craves. Whether you are a fan of traditional Japanese treats or you’ve enjoyed our Watermelon Mochi, this baked version is a textural masterpiece.
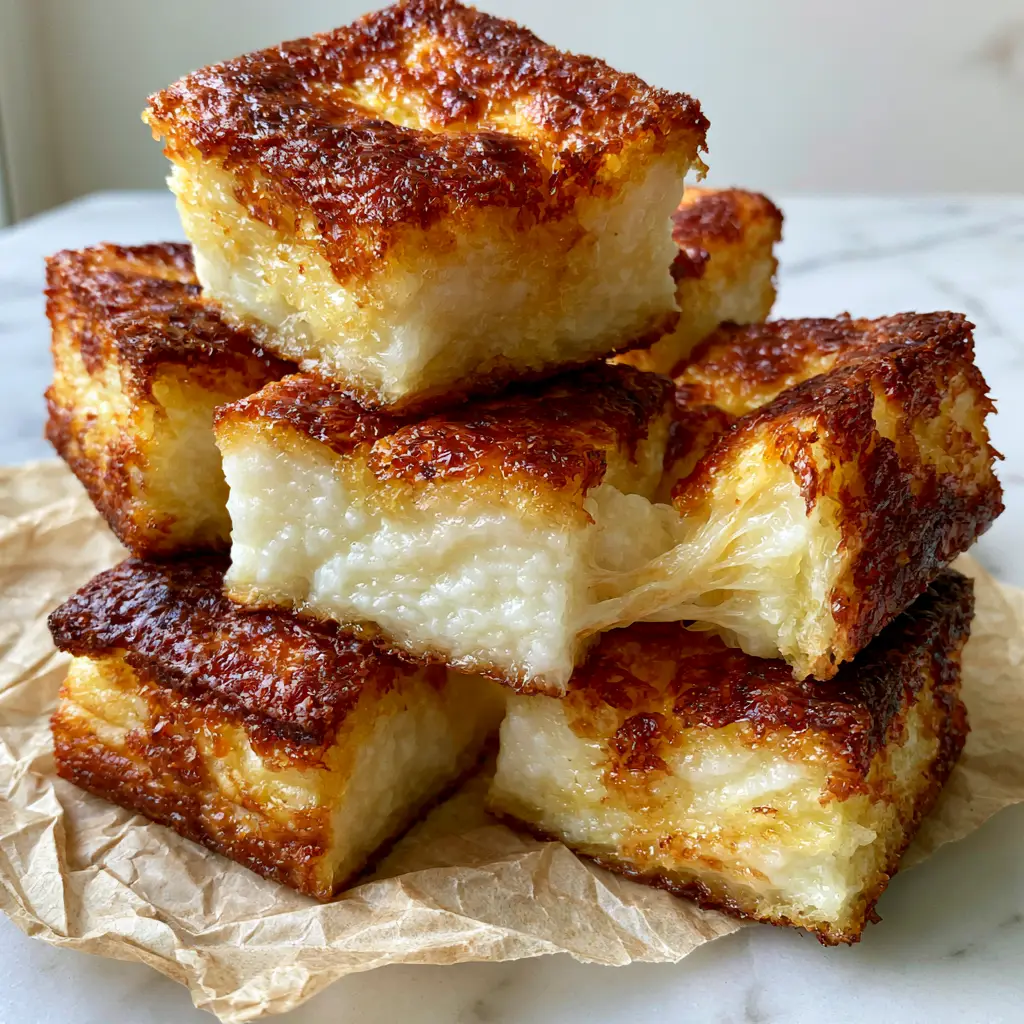
Imagine biting into a square that is crispy on the edges but transforms into a thick, dense, stark white, and bouncy interior. This isn’t just a cake; it’s a sensory experience that combines the tropical richness of coconut with the undeniable chew of glutinous rice flour. It is the perfect follow-up to a savory meal like our Air Fryer Bang Bang Chicken Skewers.
Why This Hawaiian Butter Mochi Is A Pinterest Sensation
- The Perfect Contrast: A deep golden-brown top that is perfectly caramelized gives way to a sticky, chewy internal crumb.
- Unmatched Elasticity: We use specific ratios to ensure the bouncy mochi center maintains its “Q-texture” for days.
- Effortless Aesthetics: These square-cut edges look stunning on a neutral marble surface, making them the star of any dessert spread.
- Crowd-Pleasing & Gluten-Free: Naturally gluten-free, this mochi is a safe and delicious option for almost any guest.
The Secret Ingredients for the Chewiest Mochi Center
To achieve that stark white interior and moist sheen of butter, each ingredient plays a critical role in the culinary chemistry of the bake.
1. Mochiko (Glutinous Rice Flour): 1 box (16 oz / 454g). This is the backbone of the recipe. Unlike regular flour, glutinous rice flour provides the elasticity and bounce. Do not substitute with regular rice flour, or you will lose the chew.
2. Granulated Sugar: 1.5 cups (300g). Sugar provides the sweetness but also assists in the caramelized top development during the long bake.
3. Baking Powder: 2 teaspoons (10g). This gives the mochi a slight lift, preventing it from becoming a brick while maintaining that dense quality.
4. Unsalted Butter: 1/2 cup (115g), melted. The butter creates the glossy finish and the melted butter sheen visible on the surface of each slice.
5. Coconut Milk: 1 can (13.5 oz / 400ml). Full-fat coconut milk is essential for the tropical flavor and the fat content required for a moist sheen.
6. Evaporated Milk: 1.5 cups (360ml). This adds a creamy richness that water or regular milk simply cannot match.
7. Large Eggs: 4 units. Eggs act as the binder, ensuring the square-cut edges hold their shape when sliced.
8. Vanilla Extract: 1 tablespoon (15ml). A high-quality vanilla enhances the natural sweetness of the mochi.
How to Achieve the Perfect Caramelized Mochi Top
Preparing the Pan for Easy Release
Start by preheating your oven to 350°F (175°C). Line a 9×13 inch (23x33cm) baking pan with crinkled natural parchment paper. The “crinkle” is important—it allows the mochi to breathe and creates those rustic, crisp edges. If you like easy cleanup, this is even simpler than prepping for Honey Garlic Chicken Skewers.
Mixing for the Stark White Center
In a large bowl, whisk your Mochiko, sugar, and baking powder. In a separate bowl, beat the 4 eggs, then slowly whisk in the coconut milk, evaporated milk, melted butter, and vanilla. Slowly incorporate the wet ingredients into the dry. You want a smooth, liquid batter that will bake into a dense, stark white interior.
The Baking Process and Visual Cues
Pour the batter into your prepared pan. Bake for 60-70 minutes. You are looking for a very specific visual cue: the top must be a deep golden-brown and perfectly caramelized. You should see a glossy shimmer on the surface from the melted butter. If the top is still pale, the mochi will lack that vital textural contrast.
The Cooling Mandate
This is the hardest part. You must let the mochi cool completely in the pan on a wire rack. This allows the starches to set, creating the visible ‘Q-texture’ elasticity. If you cut it while hot, the sticky, chewy internal crumb will be too gooey to hold its square shape.
Expert Tips for Success
- Whisk Vigorously: To ensure the dense white center is uniform, ensure there are no lumps of flour in your batter before baking.
- Use a Glass Pan: If you want even more blistered edges, a glass baking dish often browns the bottom and sides more effectively than metal.
- Check for Doneness: The mochi should jiggle slightly in the center but feel firm to the touch on the caramelized top.
- Perfect Squares: Use a plastic knife to cut the mochi once cooled; the plastic prevents the sticky interior from clinging to the blade.
Storage, Reheating & Freezing
Storage: Keep your mochi squares in an airtight container at room temperature for up to 3 days. Do not refrigerate, as this will cause the bouncy mochi center to become hard and lose its elasticity.
Freezing: You can freeze these squares! Wrap them individually in plastic wrap and place them in a freezer bag. They will stay fresh for up to 3 months.
Reheating: To restore the melted butter sheen and sticky crumb, microwave a square for 10-15 seconds. It will become incredibly bouncy again, almost like it’s fresh from the oven.
What to Serve With Hawaiian Butter Mochi
This mochi is quite rich, so it pairs beautifully with light, acidic, or savory components. Consider serving it after a fresh Asian Sesame Noodle Salad or alongside a cup of green tea. If you’re hosting a large gathering with various textures, it sits perfectly next to a crisp Broccoli Salad. For a full dessert spread, try pairing it with our Scotcheroos for a duo of ultimate chewy treats.
Frequently Asked Questions
No. Regular rice flour will result in a gritty, cake-like texture. You must use glutinous rice flour (Mochiko) to achieve the signature dense and elastic mochi center.
Wait for the mochi to cool completely! Use a plastic knife or a knife lightly greased with oil to prevent the sticky, chewy internal crumb from sticking to the blade.
Q-texture is a term used in Asian culinary circles to describe the perfect bounce, chewiness, and elasticity found in glutinous rice-based foods like mochi. It should be firm yet soft and distinctly springy.
This usually happens if the oven temperature is too low or if you haven’t baked it long enough. The sugar and butter need at least 60 minutes to create that caramelized, golden-brown crust.
The Authentic Hawaiian Butter Mochi Recipe
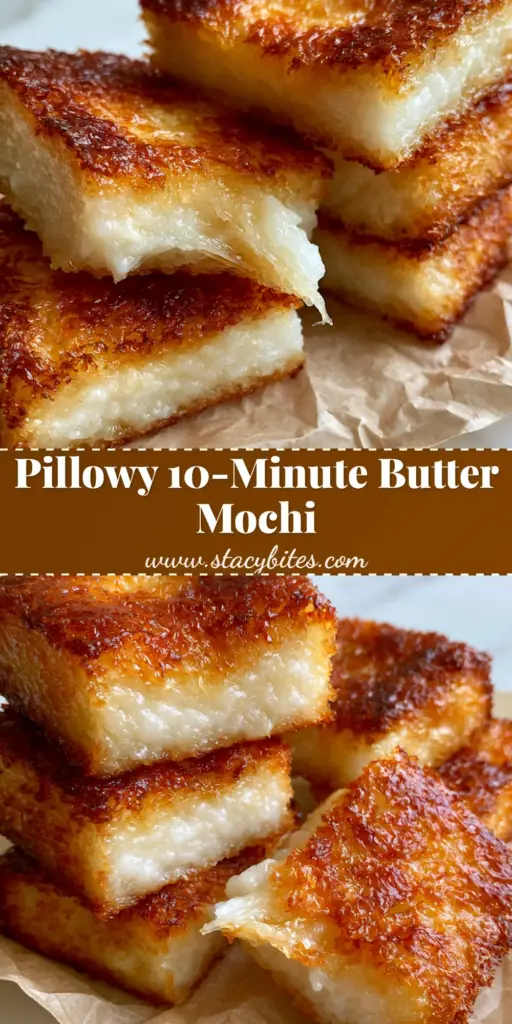
Mochi: The Ultimate Chewy Hawaiian Butter Mochi Recipe
Ingredients
Equipment
Method
- Preheat your oven to 350°F (175°C). Line a 9x13 inch pan with crinkled natural parchment paper, leaving a slight overhang for easy removal.
- In a large mixing bowl, whisk together the Mochiko, sugar, and baking powder until well combined.
- In a separate medium bowl, beat the eggs. Whisk in the coconut milk, evaporated milk, melted butter, and vanilla extract until smooth.
- Slowly pour the wet ingredients into the dry ingredients. Whisk until the batter is smooth and no lumps of flour remain.
- Pour the batter into the prepared pan. Bake for 60 to 70 minutes until the top is a deep golden-brown and perfectly caramelized.
- Remove from oven and let cool completely in the pan on a wire rack. Once fully cooled, use a plastic knife to cut into 24 squares to reveal the bouncy white center.
Notes
Ensure you use 'Glutinous Rice Flour' (Mochiko), not regular rice flour.
Join the Mochi Obsession!
If you loved this Mochi recipe, please save it to your Pinterest boards using the stacy_bites handle! There is nothing more satisfying than seeing your perfectly caramelized recreations. Leave a 5-star rating in the recipe card below and let us know in the comments how your dense white elastic center turned out. Happy baking!