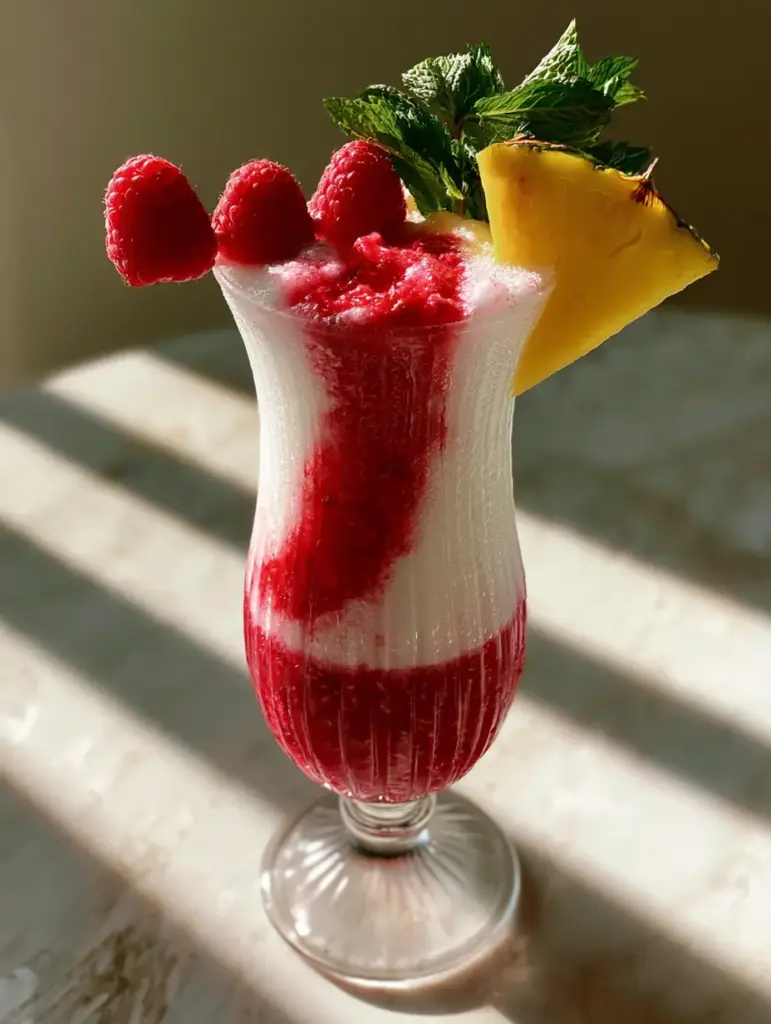
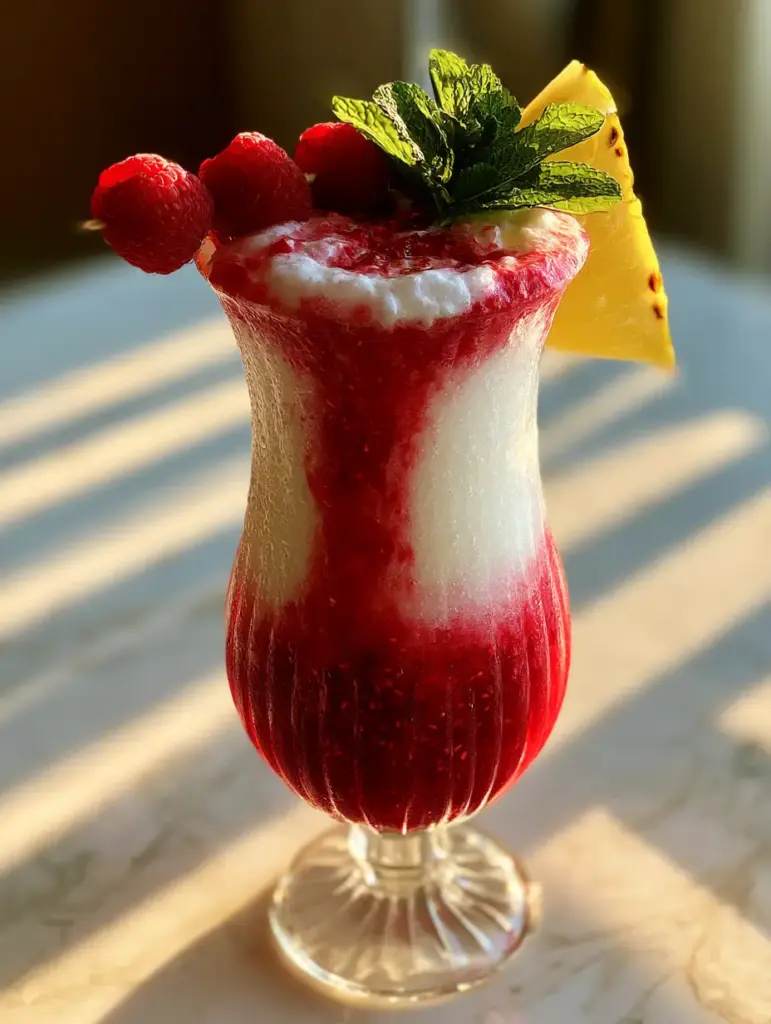
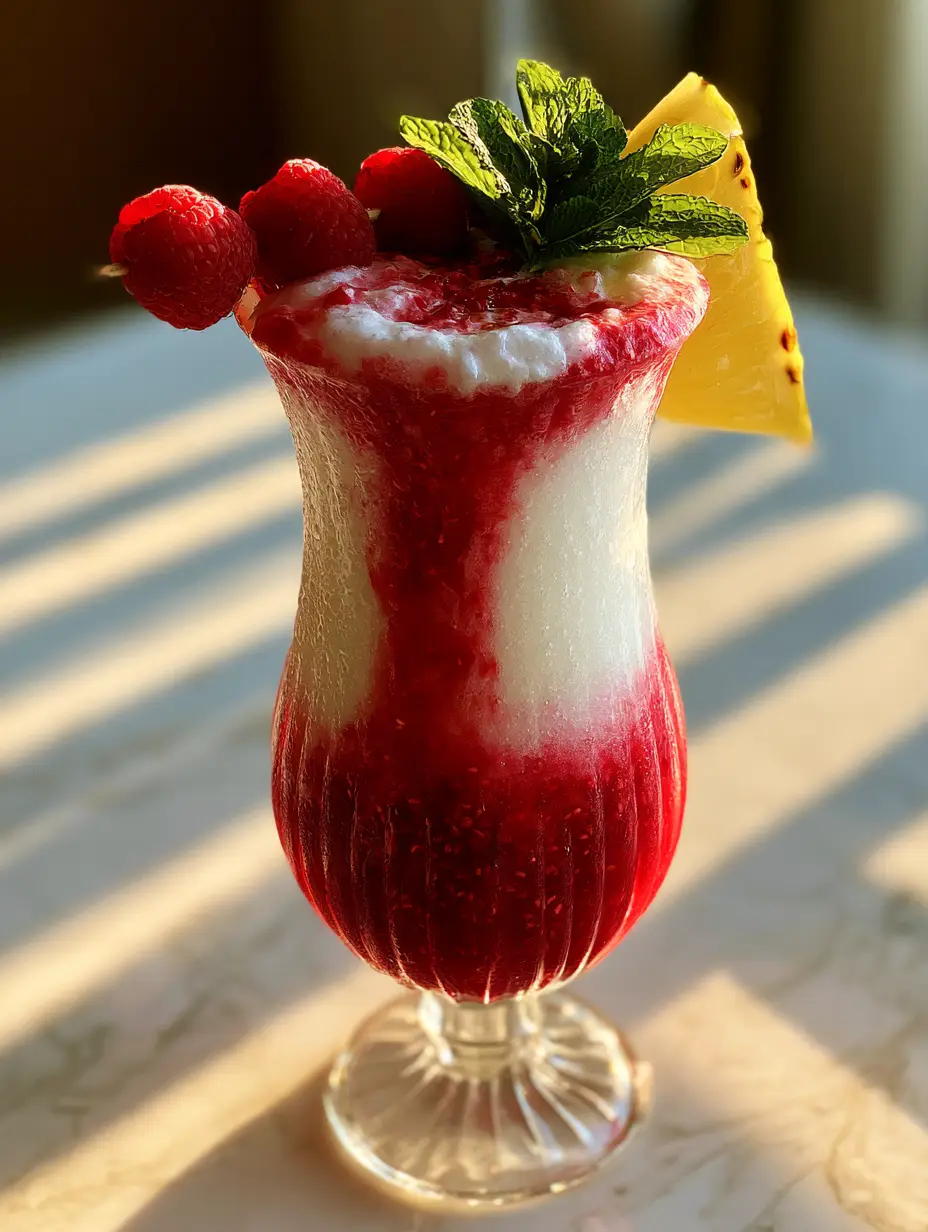
The raspberry piña colada is more than just a cocktail; it is a sensory journey that transports you to a sun-drenched beach with every frosty sip. This stunning, bi-level beverage features a deep, crimson raspberry base contrasted against a velvety white pineapple-coconut slush.
In the world of tropical mixology, visual presentation is just as vital as the flavor profile. Our version captures the authentic social media aesthetic, complete with a dramatic raspberry juice “bleed” that swirls upward into the creamy white topping.
Whether you are hosting a summer garden party or simply craving a vacation in a glass, this raspberry piña colada delivers a professional-grade experience. It balances the tartness of fresh berries with the rich, fatty decadence of heavy coconut cream.
The Irresistible Appeal of This Crimson and Cream Masterpiece
- Textural Contrast: You will experience a dual-texture delight, transitioning from a thick, seed-studded fruit puree to a frosty, ice-crystal-laden slush.
- Visual Forensics: This recipe perfectly recreates the “golden-hour” glow, featuring vibrant crimson hues and a velvety white finish that looks incredible in a ribbed hurricane glass.
- Balanced Flavor Science: We utilize the natural acidity of raspberries to cut through the intense sweetness of traditional piña colada ingredients.
- Garnish Sophistication: Every glass is elevated with a skewer of plump berries and a toasted coconut rim, providing both crunch and aroma.
The Tropical Grocery List for This Layered Delight
Fresh or Frozen Raspberries: 2 cups (250g). These form the “crimson” base; using fresh berries provides a brighter color, while frozen berries help maintain the thick, puree consistency needed for layering.
Frozen Pineapple Chunks: 3 cups (450g). Frozen fruit is essential here to act as the “ice” component, ensuring the drink remains a thick slush rather than a watery liquid.
Heavy Coconut Cream: 1 cup (240ml). We specify the thick, fatty layer found at the top of a can of coconut milk to provide the “velvety texture” seen in the visual prompt.
Cream of Coconut: 1/2 cup (120ml). Not to be confused with coconut milk, this sweetened product provides the necessary sugar and floral coconut notes characteristic of a piña colada.
Pineapple Juice: 1/2 cup (120ml). This acts as the blending agent, helping the frozen pineapple break down into a smooth, drinkable consistency without diluting the flavor.
Fresh Lime Juice: 1 tbsp (15ml). This “invisible” ingredient is a culinary necessity, providing the bright acid needed to balance the heavy fats in the coconut cream.
Toasted Coconut Flakes: 2 tbsp (10g). These are used for garnishing the rim or sprinkling on top, adding a nutty, caramelized aroma that complements the fruit.
Ice Crystals: 1 cup (140g) of crushed ice. While the fruit is frozen, additional ice creates the specific “slushie” mouthfeel that defines a high-end frozen cocktail.
Fresh Mint Sprigs and Pineapple Wedges: For the final presentation. Ensure the pineapple wedges are cut into triangles with the skin left on for that authentic, unedited social media look.
Essential Equipment for a Professional Frozen Finish
To achieve the high-definition texture seen in our raspberry piña colada, a high-speed blender is non-negotiable. You need a motor capable of pulverizing ice and frozen pineapple into a uniform slush without leaving large chunks.
You will also need a fine-mesh sieve if you prefer a smoother puree, though our visual guide specifically calls for “visible fruit seeds” to enhance the authentic fruit aesthetic. A set of ribbed hurricane glasses is the traditional choice for serving, providing the vertical height required for the ad-optimized “long pour” look.
Finally, a small skillet is required for toasting the coconut flakes. This quick step unlocks the essential oils in the coconut, making the aroma much more potent as the glass approaches the drinker’s face.
Step-By-Step: Crafting the Perfect Frozen Swirl
Preparing the Thick Crimson Raspberry Puree
In your blender, combine the raspberries and a tablespoon of sugar. Blitz until completely liquified but stop before the seeds are pulverized into a dust.
Transfer the puree to a small bowl. For the most dramatic layering, place this puree in the freezer for 10 minutes; this slightly firms it up so the pineapple slush doesn’t immediately mix when poured on top.
Blending the Velvety Pineapple Slush
Rinse the blender container thoroughly. Add the frozen pineapple chunks, heavy coconut cream, cream of coconut, pineapple juice, lime juice, and crushed ice.
Pulse five times to break up the large fruit chunks, then blend on high for 45-60 seconds. You are looking for a visual cue of a “vortex” forming in the center, indicating the mixture is perfectly smooth and velvety.
The Art of the Layer and the Bleed
Spoon the thick raspberry puree into the bottom third of your chilled ribbed hurricane glass. Use the back of a spoon to press it against the glass to ensure there are no air pockets.
Gently pour the white pineapple slush over the puree. To achieve the “swirl that bleeds upward,” take a long bar spoon or a glass straw and gently pull a small amount of the red puree up the sides of the glass into the white cream.
Garnishing for Maximum Sensory Impact
Toast your coconut flakes in a dry pan over medium heat for 2 minutes until golden brown and fragrant. Sprinkle these over the top of the slush.
Thread three fresh raspberries onto a bamboo skewer and rest it across the rim. Finish with a bright yellow pineapple wedge and a sprig of mint, which should be “clapped” between your hands before serving to release the aromatic oils.
Expert Tips for Raspberry Piña Colada Success
- Chill Your Glassware: Place your hurricane glasses in the freezer for 20 minutes before assembly. This creates the “realistic condensation droplets” that make the drink look incredibly refreshing.
- The “Clap” Technique: Always slap your mint sprig against your palm before garnishing. This ruptures the herb’s cells, instantly releasing a scent that makes the first sip much more impactful.
- Controlling the Bleed: If your raspberry puree is too thin, it will mix instantly and turn the whole drink pink. If this happens, add a teaspoon of corn syrup or honey to the puree to increase its viscosity.
- Alcoholic Variations: If you wish to make this a cocktail, add 2 oz (60ml) of white rum or coconut rum to the pineapple blending stage. The alcohol will slightly lower the freezing point, making the slush even softer.
Storage and Preparation in Advance
The raspberry piña colada is best enjoyed immediately to maintain the “ice crystal” texture. However, you can prepare the raspberry puree up to three days in advance and keep it refrigerated.
If you have leftover pineapple slush, you can freeze it in an airtight container. To serve again, let it sit at room temperature for 10 minutes, then give it a quick “pulse” in the blender to restore the velvety texture of a classic frosty treat.
What to Serve With Your Tropical Drinks
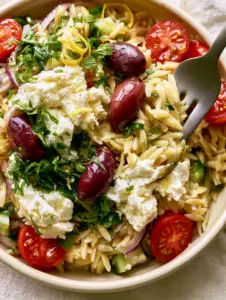
To complement the sweet and tart profile of this drink, consider serving it alongside light, refreshing summer fare. The acidity in the raspberries pairs beautifully with a bold grinder pasta salad or a citrus-heavy vegetable rice noodle salad.
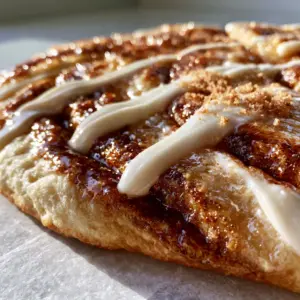
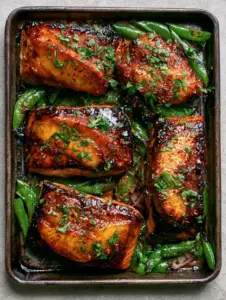
If you are hosting a full tropical-themed brunch, this drink acts as a vibrant counterpart to savory dishes like asparagus and peas orzo or even a sweet eggnog French toast for a decadent fusion meal.
For those who love a variety of fruit-forward beverages, you might also enjoy setting up a drink station with a lychee rose mojito or a classic Malibu Bay breeze cocktail.
Frequently Asked Questions
Coconut milk is much thinner and will result in a watery drink. For the velvety, thick texture seen in the photos, you must use heavy coconut cream (the thick part at the top of the can) or cream of coconut.
You can, but you will need to double the amount of ice to achieve the same ‘slushie’ consistency. Using frozen pineapple is the best way to keep the flavor concentrated and the texture thick.
After layering the white slush over the red puree, insert a straw or bar spoon to the bottom and gently pull upward along the side of the glass. The viscosity of the puree will create those beautiful crimson streaks.
This specific recipe is written as a mocktail, but you can easily make it a cocktail by adding 2 oz (60ml) of white or coconut rum to the pineapple blending stage.
Leaving the seeds in the puree provides an ‘authentic fruit’ aesthetic and a slight textural contrast that signals the use of real, fresh raspberries rather than a processed syrup.
The Ultimate Raspberry Piña Colada Recipe
Raspberry Piña Colada: The Ultimate Layered Tropical Frozen Drink
Ingredients
Equipment
Method
- Combine raspberries and sugar in a blender. Blitz until smooth but still showing small seeds. Pour into the bottom of hurricane glasses.
- Clean the blender. Add frozen pineapple, coconut cream, cream of coconut, pineapple juice, lime juice, and ice. Blend on high until velvety and smooth.
- Slowly pour the pineapple mixture over the raspberry puree. Use a straw to gently swirl the red juice upward into the white cream.
- Top with toasted coconut, a raspberry skewer, pineapple wedge, and a fresh mint sprig.
Notes
Always 'clap' your mint between your hands to release the aromatic oils before garnishing.
Closing & Call to Action
Mastering the raspberry piña colada allows you to bring the luxury of a tropical resort into your own kitchen. The combination of the vibrant raspberry bleed and the creamy coconut slush creates a visual and flavor profile that is truly unmatched.
If you enjoyed this recipe, please leave a comment below and tell us how your layers turned out! Don’t forget to share your creations and follow us on Pinterest for more visually stunning recipe inspiration.