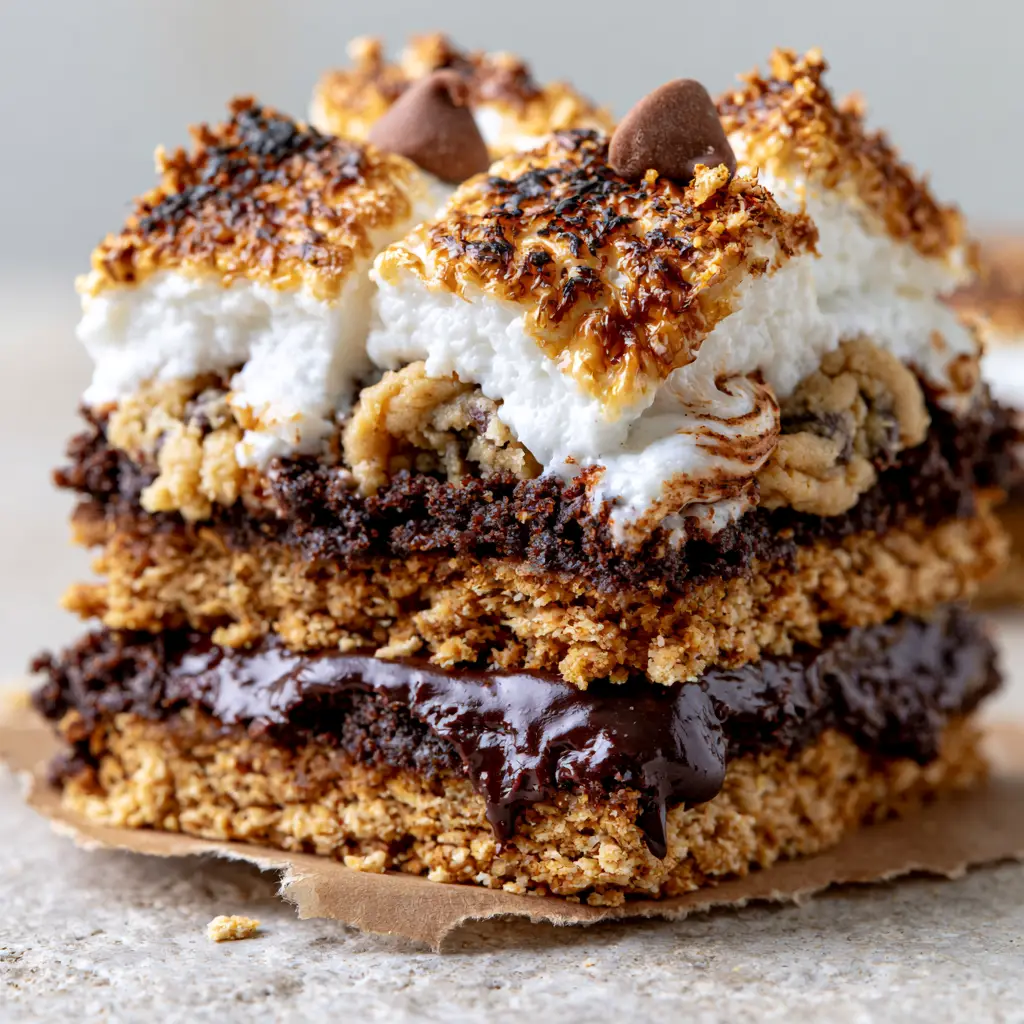
Experience the nostalgic magic of a summer campfire without leaving your kitchen with these decadent S’mores cookie bars. This isn’t just a simple dessert; it is a multi-layered masterpiece featuring a buttery graham cracker foundation, a glossy reservoir of dark chocolate, and peaks of perfectly charred marshmallow.
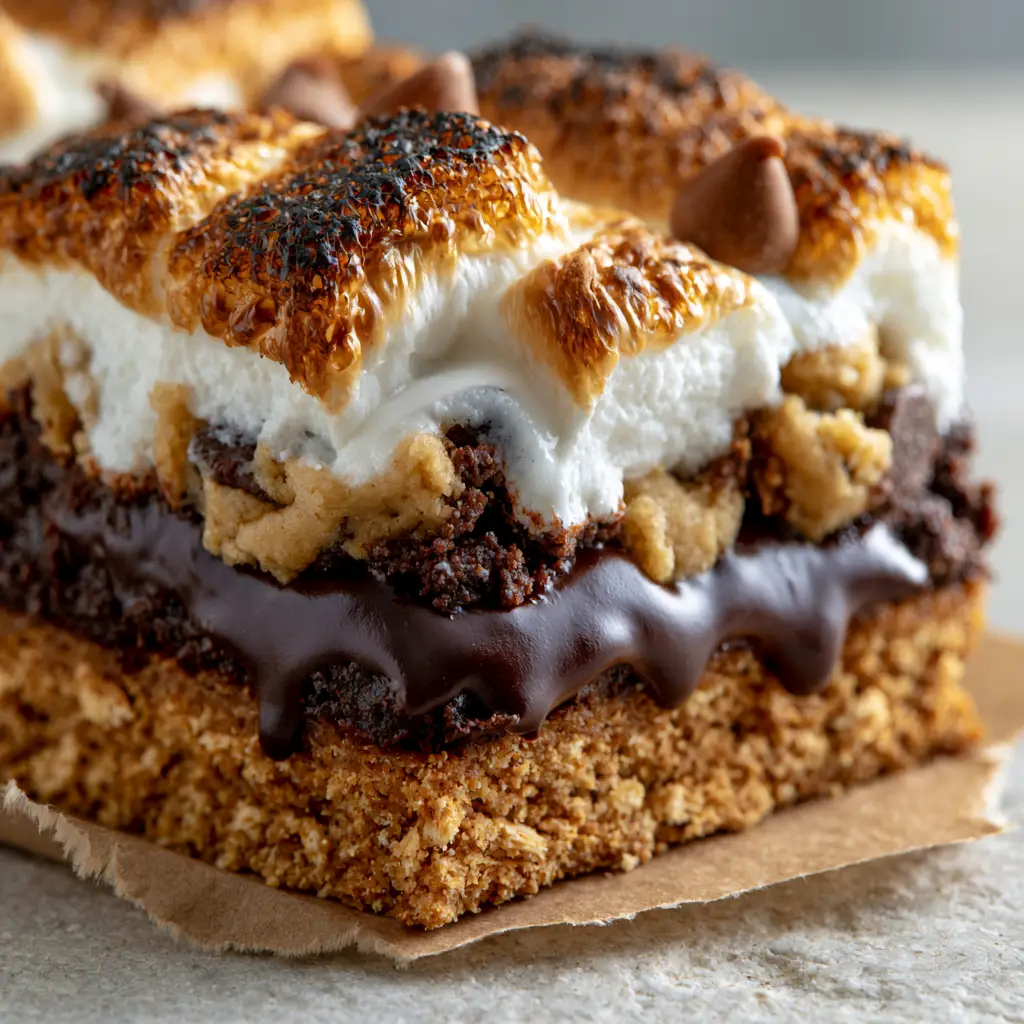
The visual appeal of these bars lies in the contrast between the golden-brown crust and the deep, dark chocolate ganache that oozes slightly at the edges. When you take your first bite, you’ll encounter soft pockets of underbaked chocolate chip cookie dough swirled directly into the gooey marshmallow centers.
Whether you are hosting a backyard barbecue or looking for the ultimate comfort food, these bars deliver professional-grade textures and flavors. They are designed to be thick, indulgent, and visually stunning, exactly like a high-end bakery treat served on rustic torn parchment paper.
Why You Will Crave These Gooey Sheet Pan Treats
- Textural Harmony: A crunchy graham cracker base meets a silky ganache and cloud-like, toasted marshmallows.
- Gourmet Flavors: We swap standard milk chocolate for a rich dark chocolate ganache to balance the sweetness of the marshmallow layer.
- Visual Showstopper: The charred, caramelized golden-brown peaks of the marshmallows provide a stunning contrast against the semi-sweet chocolate chips.
- Ease of Preparation: This sheet pan method ensures you get a uniform bake and thick, stackable bars every single time.
The Foundation of a Golden Graham Cracker Base
Every great bar starts with a structural foundation. For these S’mores cookie bars, we use a coarse graham cracker crumb mixed with melted butter and a touch of sugar to create a crust that stays crisp under the heavy toppings.
Graham Cracker Crumbs: You will need 2 cups (240g) of finely crushed crumbs. These provide the signature honey-wheat flavor that defines a classic s’more.
Unsalted Butter: 1/2 cup (115g) of melted butter acts as the glue. It ensures the crust is buttery and holds its shape when sliced into thick squares.
Granulated Sugar: 1/4 cup (50g) helps the crust caramelize slightly in the oven, giving it that “golden-brown” visual cue from our blueprint.
The Secret to Oozing Dark Chocolate Ganache
Unlike standard bars that use chocolate bars, we utilize a dense, glossy ganache layer. This ensures the chocolate remains soft and “oozing” even after the bars have cooled slightly.
Dark Chocolate (60% Cacao): 1.5 cups (255g) of high-quality chopped chocolate. This provides the sophisticated “semi-melted” look seen in our visual prompt.
Heavy Cream: 1/2 cup (120ml) of warm cream is whisked into the chocolate. This creates the “glossy” finish that catches the light so beautifully.
Ingredients for the Soft Cookie Dough Swirl
The “pockets of soft, underbaked dough” mentioned in our visual description come from a specialized cookie batter. This dough is designed to stay tender and slightly fudgy during the final broiling stage.
All-Purpose Flour: 1 1/4 cups (155g) provide enough structure to keep the dough from disappearing into the marshmallow layer.
Brown Sugar: 1/2 cup (100g) packed brown sugar adds moisture and a deep molasses flavor to the cookie swirls.
Semi-Sweet Chocolate Chips: 1/2 cup (90g) scattered within the dough and on top for that extra “nestled” chip appearance.
Essential Kitchen Tools for Professional Results
To achieve the “sheet pan” look and those “perfectly charred peaks,” you will need a few specific items. A 9×9 inch (23x23cm) baking pan is ideal for the thickness shown in our macro stack.
You will also need a kitchen torch or a reliable oven broiler. This is non-negotiable for achieving the caramelized, toasted marshmallow tops without melting the entire bar into a puddle.
Finally, always line your pan with torn brown parchment paper. This prevents sticking and provides that rustic, handheld smartphone photo aesthetic we are aiming for.
Step-by-Step Evolution of the S’mores Bar
1. Constructing the Crispy Graham Base
Preheat your oven to 350°F (175°C). Mix your graham crumbs, melted butter, and sugar until it resembles wet sand.
Press the mixture firmly into the bottom of your parchment-lined pan. Bake for 8-10 minutes until the edges are just turning golden-brown and the kitchen smells like toasted honey.
2. Preparing the Glossy Ganache and Cookie Dough
While the crust cools, heat your heavy cream until simmering and pour over the chopped dark chocolate. Let it sit for 2 minutes, then whisk until it is thick, glossy, and smooth.
In a separate bowl, cream together butter and brown sugar, then fold in your flour and chocolate chips to create the “soft cookie dough.” Do not overmix; we want those visible pockets of dough to remain distinct.
3. Layering for Maximum Visual Impact
Pour the chocolate ganache over the cooled graham crust, spreading it to the very edges so it can “ooze” later. Drop small spoonfuls of the cookie dough randomly across the chocolate.
Top the entire pan with large, fluffy marshmallows. Press them down slightly so they are nestled into the dough and chocolate layers.
4. The Final Char and Toast
Bake the bars for another 10-12 minutes. Finally, turn on the broiler for 1-2 minutes. Watch closely! You are looking for the “perfectly charred, caramelized golden-brown peaks” and “white gooey centers.”
Expert Tips for Success
- The Broiler Watch: Marshmallows can go from golden to burnt in seconds. Stay by the oven and rotate the pan if necessary for even charring.
- The Clean Cut: For those “thick sheet pan” stacks, let the bars cool completely before slicing. Use a hot, wet knife to cut through the gooey marshmallow without tearing it.
- Parchment Hack: Leave an overhang of parchment paper on the sides. This allows you to lift the entire block of S’mores cookie bars out of the pan for easier slicing.
- Dough Consistency: Ensure your cookie dough is slightly chilled before dropping it onto the ganache. This helps it maintain its “pocket” shape during the bake.
Planning Your Indulgent Dessert Menu
These S’mores cookie bars are the perfect finale to a heavy summer meal. They pair beautifully with light, refreshing sides that cleanse the palate between bites of rich chocolate.
If you’re hosting a gathering, consider serving these alongside some vibrant summer side dishes to balance the meal. For a complete outdoor spread, these bars follow a fresh corn salad or even a colorful fruit pizza wonderfully.
For those looking for a savory contrast, a Mediterranean feta salad provides the salty kick that makes the sweet dark chocolate pop.
Frequently Asked Questions
Yes, but dark chocolate (60% cacao) provides a better flavor balance against the sweet marshmallows and prevents the bars from being overly sugary.
No, a kitchen torch is great for precision, but a standard oven broiler works perfectly well to achieve the charred marshmallow tops described in the recipe.
The secret is using the broiler for a very short duration (1-2 minutes) and keeping the oven door slightly ajar so you can watch for the peaks to turn golden-brown.
Store them in an airtight container at room temperature for up to 3 days. To regain the gooey texture, microwave a bar for 10 seconds before serving.
This usually happens if the crumbs aren’t pressed firmly enough into the pan or if there isn’t enough melted butter to bind them. Ensure the mixture feels like wet sand before baking.
The Ultimate S’mores Cookie Bars Recipe
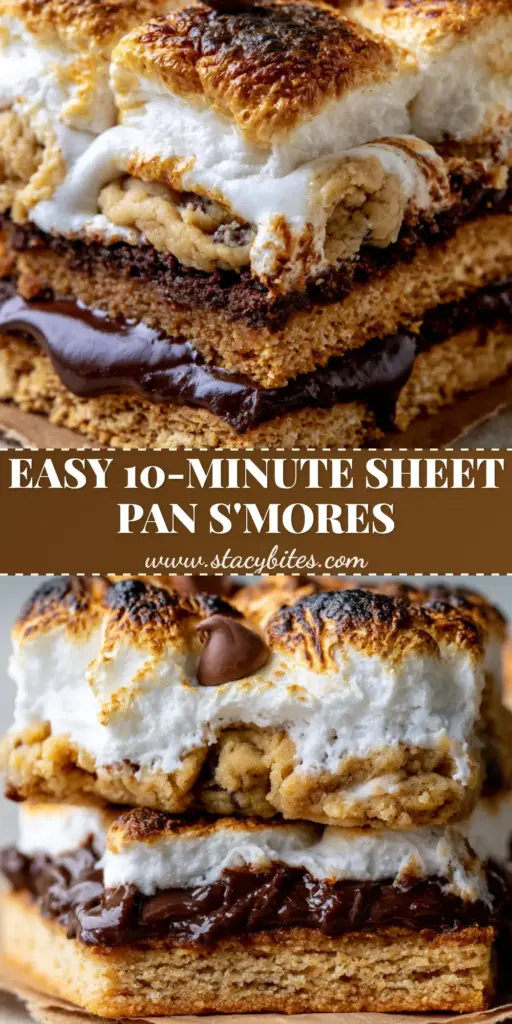
S'mores Cookie Bars with Toasted Marshmallow and Dark Chocolate Ganache
Ingredients
Equipment
Method
- Combine graham crumbs, melted butter, and sugar. Press into a 9x9 inch pan and bake at 350°F (175°C) for 10 minutes.
- Pour warm heavy cream over chopped dark chocolate. Let sit for 2 minutes, then stir until glossy and smooth.
- Spread ganache over the crust. Drop spoonfuls of cookie dough into the chocolate. Top with a layer of marshmallows.
- Bake for 12 minutes. Broil for 1-2 minutes until marshmallows have charred, golden-brown peaks.
Notes
Ensure the chocolate ganache is glossy before spreading to achieve the oozing effect.
Closing & Call to Action
These S’mores cookie bars are a testament to how simple ingredients can create a visually stunning and culinarily complex dessert. With their charred marshmallow tops and oozing chocolate centers, they are guaranteed to be the highlight of your next bake.
If you enjoyed this recipe, please leave a comment below and share your results! Don’t forget to follow stacy_bites on Pinterest for more indulgent dessert inspiration and gorgeous food photography.