microwave mug snacks are the ultimate solution for those late-night cravings when you need something indulgent, warm, and comforting in under five minutes. If you have ever stared at your pantry wishing for a bakery-style dessert without the effort of preheating an oven, this molten chocolate lava mug cake is your answer. Unlike traditional baking, which requires patience and precision, this recipe exploits the rapid heat of the microwave to create a fluffy chocolate sponge with a glossy, warm dark chocolate ganache core that rivals any five-star restaurant.
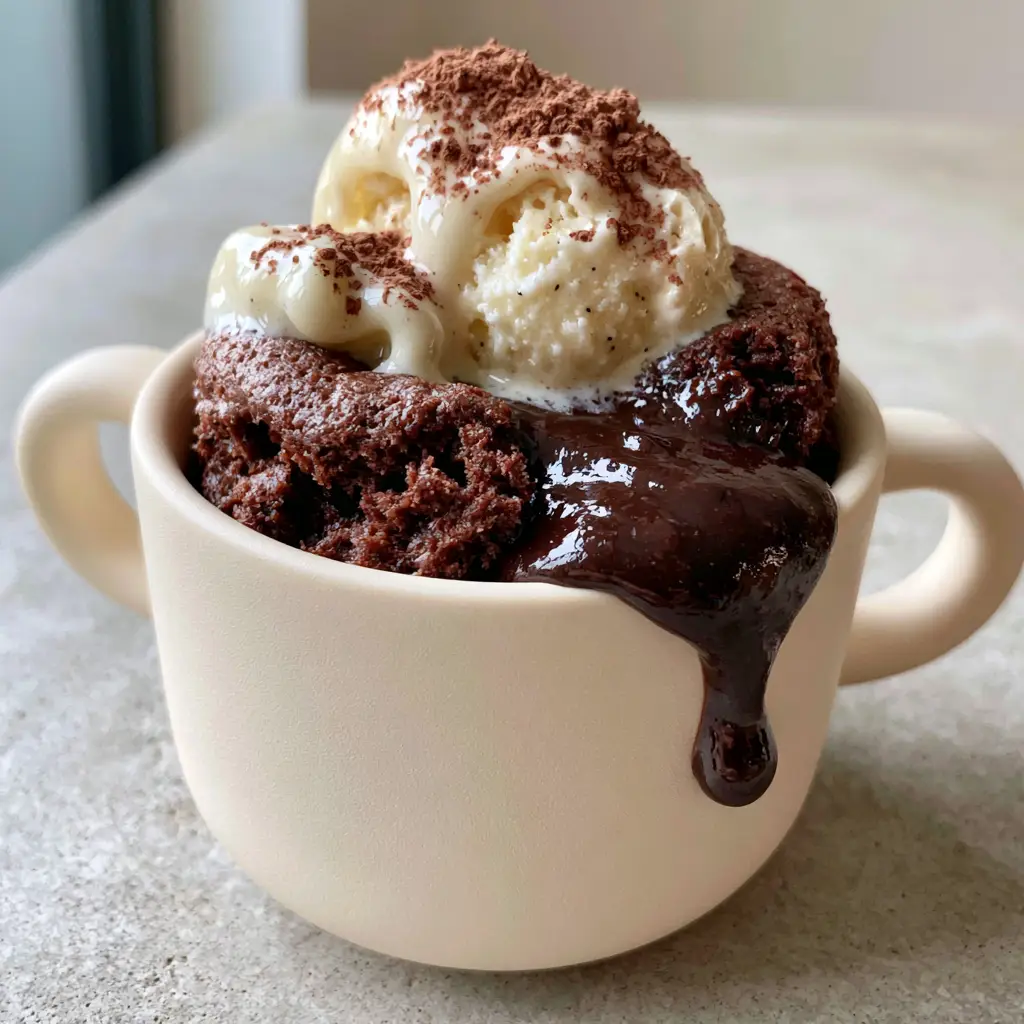
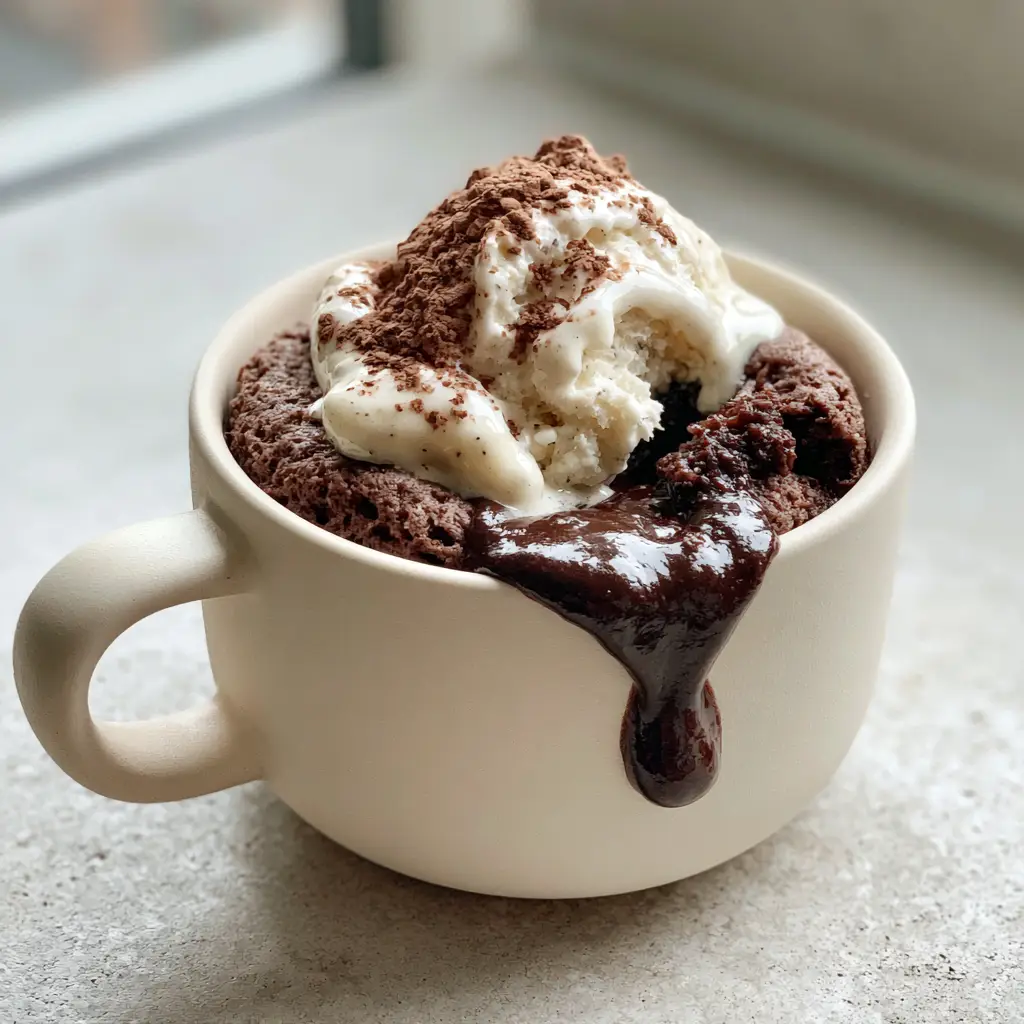
When we talk about the best microwave mug snacks, we are looking for a specific texture profile: a moist crumb that isn’t rubbery and a center that actually flows. This recipe has been meticulously tested to ensure the perfect balance of hydration and aeration. The result is a handheld smartphone-worthy dessert that looks just as good as it tastes—especially when topped with a melting scoop of vanilla bean ice cream and a dusting of fine cocoa powder.
Why This Molten Lava Mug Cake is the King of microwave mug snacks
- Unmatched Texture: You get a moist chocolate sponge cake crumb that stays soft even as it cools, avoiding the “bouncing ball” rubberiness of typical microwave cakes.
- The Molten Center: By utilizing a specific ganache insertion technique, we guarantee a thick, glossy dark chocolate core that oozes over the side the moment your spoon breaks the surface.
- Visual Indulgence: Designed to look like a professional pastry, this cake features a dusting of fine cocoa powder and a melting vanilla bean ice cream crown.
- Speed and Efficiency: From craving to first bite in less than 7 minutes, making it the most efficient of all microwave mug snacks.
If you are looking for other quick and easy kitchen wins, you might also love our air-fryer bang bang chicken skewers or these flavorful honey garlic chicken skewers for a savory contrast.
The Science of the Perfect Microwave Crumb
The biggest complaint about microwave mug snacks is that they can turn out dry or tough. This happens because microwaves vibrate water molecules, causing them to evaporate rapidly. If your batter doesn’t have enough fat or moisture, the cake becomes dehydrated within seconds.
To combat this, we use a specific ratio of neutral oil and whole milk (60ml). The oil stays liquid at room temperature, providing a “slip” to the flour proteins that butter (which solidifies) cannot achieve in a microwave environment. This ensures that every bite of your chocolate sponge is succulent and soft.
Essential Ingredients for Success
All-Purpose Flour: 1/4 cup (30g). This provides the structure. Do not pack the flour; scoop and level it to keep the cake light.
Unsweetened Cocoa Powder: 2 tbsp (15g). Use a high-quality Dutch-processed cocoa for that deep, dark color and smooth flavor profile.
Granulated Sugar: 2 tbsp (25g). This provides sweetness and helps with the moisture retention of the sponge.
Baking Powder: 1/4 tsp (1.25g). The chemical leavener responsible for the fluffy, moist chocolate cake base.
Salt: A pinch. Salt is the invisible hero that balances the sweetness and enhances the chocolate notes.
Whole Milk: 1/4 cup (60ml). Provides the necessary hydration for the sponge to rise without drying out.
Neutral Oil: 2 tbsp (30ml). Use vegetable, canola, or melted coconut oil to ensure the crumb remains tender and moist.
Vanilla Extract: 1/2 tsp (2.5ml). Adds depth and aroma that complements the dark chocolate ganache.
Dark Chocolate Pieces: 1 oz (28g). This is what creates the molten dark chocolate ganache core. Use high-quality 70% cocoa for the best “ooze” factor.
Step-by-Step Instructions to Master Your Mug Snack
1. Preparing the Dry Base
In a modern matte cream ceramic mug (approx. 12 oz / 350ml capacity), whisk together the 1/4 cup (30g) flour, 2 tbsp (15g) cocoa powder, 2 tbsp (25g) sugar, 1/4 tsp (1.25g) baking powder, and a pinch of salt. Ensure there are no lumps in the cocoa powder to prevent bitter pockets in the final cake.
2. Emulsifying the Wet Ingredients
Add the 1/4 cup (60ml) milk, 2 tbsp (30ml) oil, and 1/2 tsp (2.5ml) vanilla extract directly into the mug. Use a small whisk or fork to stir until the batter is thick, glossy, and completely smooth. Scrape the bottom edges of the mug to ensure no dry flour is left behind.
3. Creating the Molten Core
Take your 1 oz (28g) of dark chocolate pieces and gently push them into the center of the batter. Do not stir them in; you want them clustered in the middle. Cover the chocolate slightly with a bit of the surrounding batter so the “lava” stays trapped inside during the bake.
4. The Precision Microwave Bake
Place the mug in the center of the microwave. Cook on high power (1000W) for 70 to 90 seconds. The cake is ready when the edges are set and look like a soft sponge crumb, but the very center still looks slightly damp. Do not overcook, or you will lose the molten effect!
5. Resting and Topping
Allow the cake to sit for 1 minute. This “carry-over cooking” finishes the sponge without drying it out. Top with a generous scoop of vanilla bean ice cream. Watch as the heat from the cake causes the ice cream to begin melting down the sides. Finish with a fine dusting of cocoa powder for that professional aesthetic.
Expert Tips for the Perfect microwave mug snacks
- Mug Selection Matters: Use a straight-sided mug rather than a tapered one. This allows the heat to distribute evenly, ensuring the bottom of the cake isn’t soggy while the top is dry.
- The Chocolate Choice: For the most glossy ganache core, use chocolate truffles or high-quality chocolate baking disks rather than standard chocolate chips, which contain stabilizers that prevent melting.
- Power Variations: If you have a very powerful microwave (1200W+), reduce the power to 80% to prevent the microwave mug snacks from rising too fast and collapsing.
- Avoid the Rubber: If your cake feels like a sponge ball, you likely used too much flour or overcooked it by even 10 seconds. Precision is key.
For more easy-to-make comfort food, check out our crockpot meals or try this refreshing mexican shrimp ceviche for a light meal before your dessert.
Storage and Reheating
Microwave mug snacks are best enjoyed immediately while the dark chocolate ganache core is still liquid. However, if you have leftovers, you can cover the mug with plastic wrap and store it at room temperature for up to 24 hours. To reheat, microwave for 10-15 seconds just to soften the chocolate again. We do not recommend freezing mug cakes as the texture will degrade significantly.
What to Serve with Your Lava Cake
While a scoop of vanilla bean ice cream is the classic choice, you can also pair this indulgent snack with a dollop of whipped cream or a drizzle of salted caramel. For a complete “snack night,” serve this after a hearty bowl of vegan lemon white bean pasta or our creamy sun-dried tomato vegan pasta.
Frequently Asked Questions
Yes! You can substitute the all-purpose flour with a 1:1 gluten-free baking flour blend. The texture will remain very similar due to the moisture from the oil and milk.
Milk provides fat and sugars that contribute to a tender crumb and better flavor. Water will work in a pinch, but the cake will be less rich and slightly dryer.
The secret is pushing solid chocolate pieces or a chocolate truffle into the center of the batter before cooking. These melt into a ganache while the surrounding cake sets.
Rubbery texture is usually caused by overmixing the batter (which develops too much gluten) or overcooking the cake in the microwave. Stop cooking when the center still looks slightly damp.
The Ultimate Molten Chocolate Lava Mug Cake Recipe
microwave mug snacks: The Ultimate Molten Chocolate Lava Mug Cake
Ingredients
Equipment
Method
- Whisk flour, cocoa, sugar, baking powder, and salt in a microwave-safe mug.
- Stir in milk, oil, and vanilla until the batter is smooth and glossy.
- Push dark chocolate pieces into the center of the batter without stirring.
- Cook on high for 70-90 seconds until the edges are set but the center is slightly damp.
Notes
Do not overbake, or the molten center will disappear.
Join the Community!
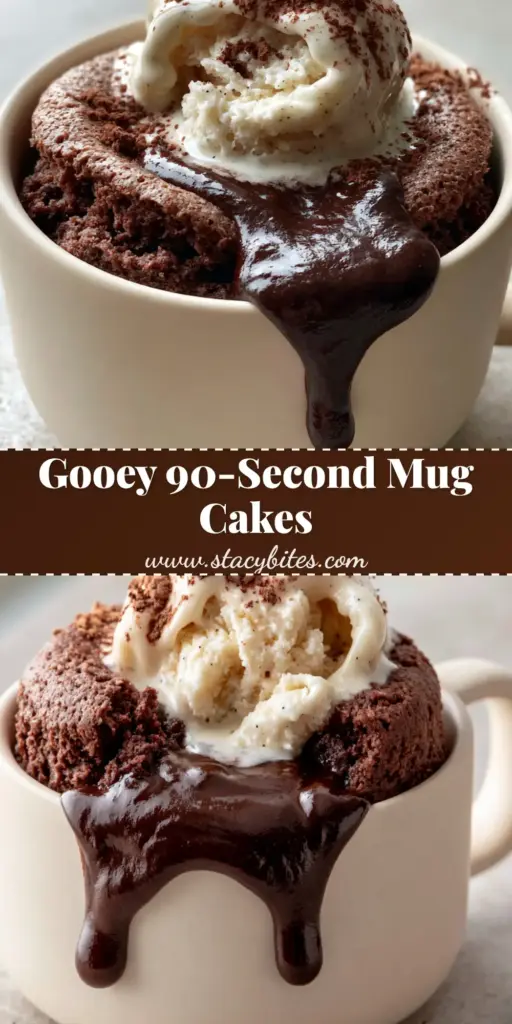
Did you make this indulgent microwave mug snack? We want to see your results! Save this recipe to your Pinterest board so you never lose it, and follow stacy_bites for more viral dessert inspiration. Share a photo of your molten lava center in the comments below, and please leave a 5-star rating if this satisfied your chocolate cravings!