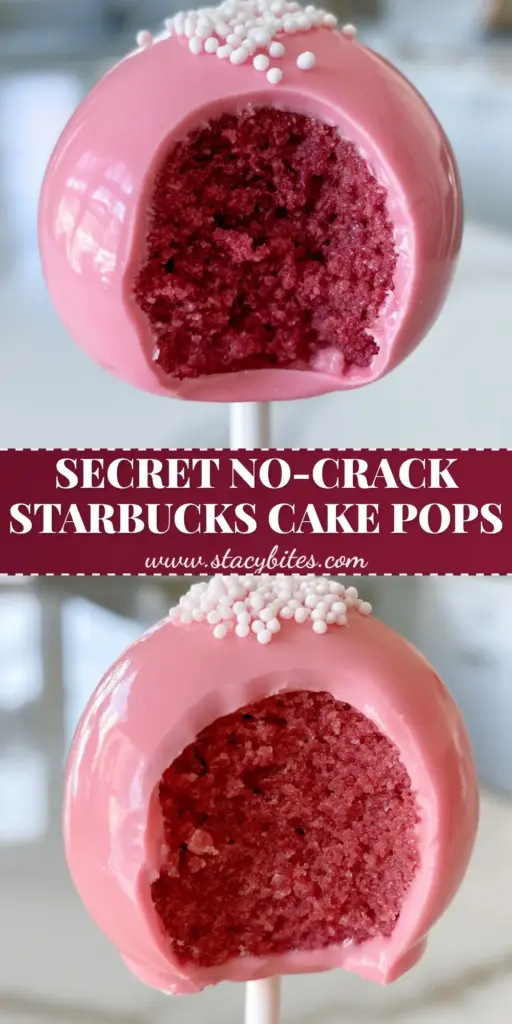
Mastering the perfect cake pop recipe is a rite of passage for every home baker who loves that iconic coffee-shop aesthetic. There is something undeniably nostalgic and satisfying about biting into a thick, glossy bubblegum pink shell to reveal a dense, moist pink cake crumb that melts in your mouth. If you have ever wondered how to achieve that professional, crack-free finish at home, you are in the right place.
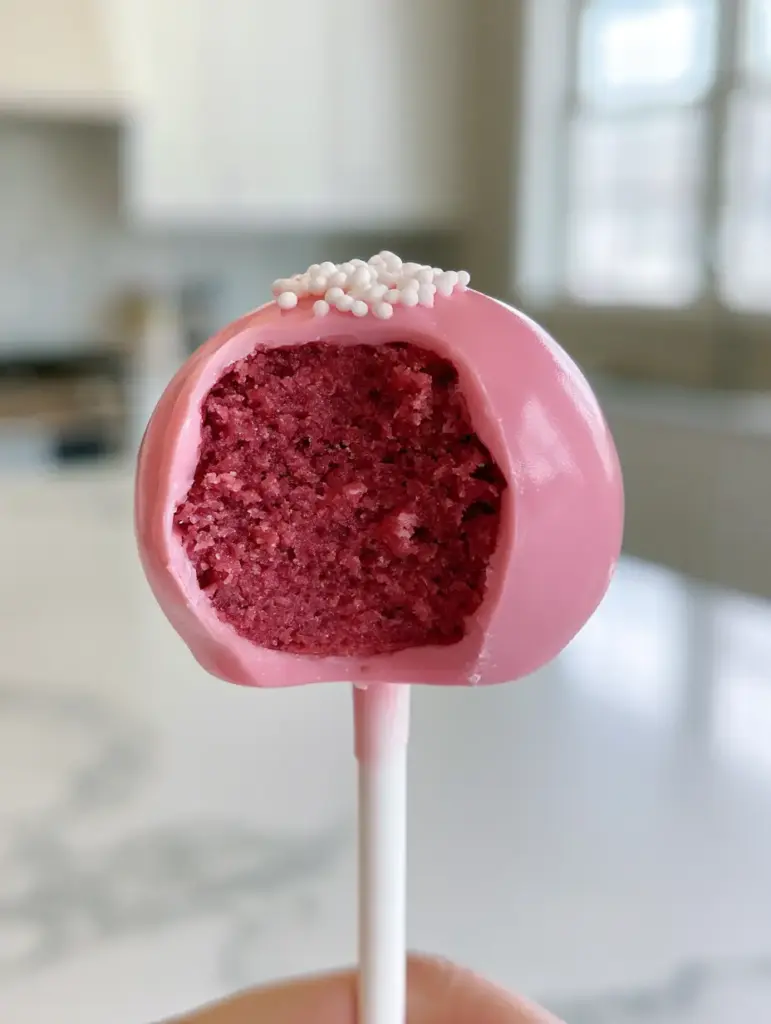
This cake pop recipe focuses on the science of the “fudgy” interior. Unlike traditional cake, which is light and airy, a true copycat cake pop needs a brownie-like density that holds its shape on a matte white paper lollipop stick. We are skipping the dry, crumbly textures of the past and embracing a luxurious, velvety pink interior that perfectly contrasts with the snap of a high-shine white chocolate coating.
Why This Is The Only Pink Cake Pop Recipe You Need
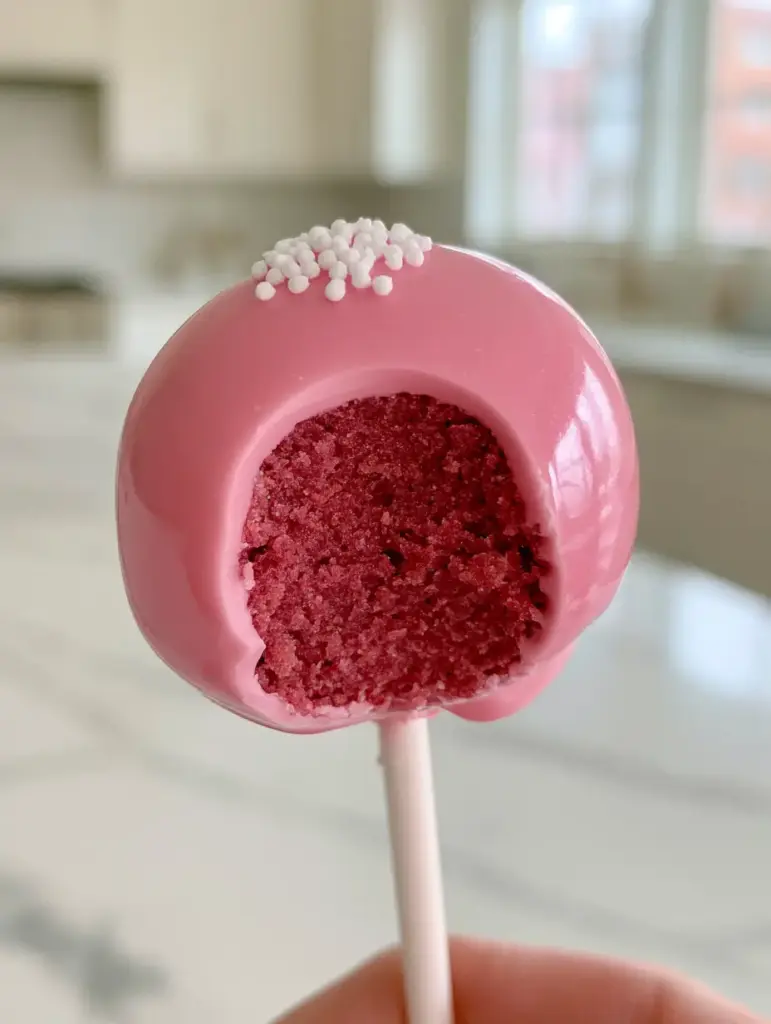
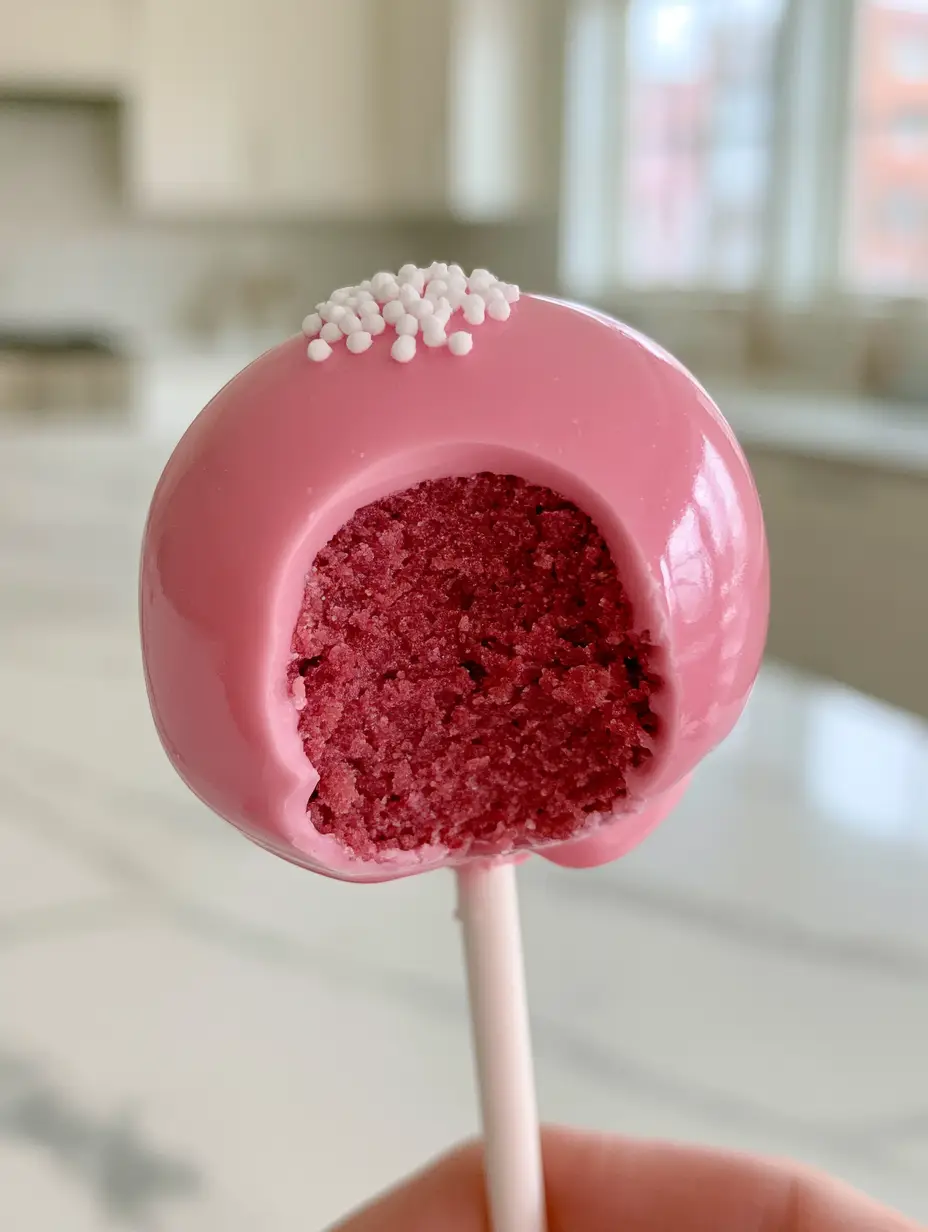
- Forensic Texture Matching: We use a specific crumb-to-frosting ratio to ensure an incredibly dense, moist, and fudgy deep-pink cake interior with zero air pockets.
- The Professional Gloss: Our dipping technique guarantees an ultra-smooth, glossy bubblegum pink chocolate coating with a professional sheen and zero cracks.
- Perfect Adhesion: Learn the temperature-control secrets that keep your cake balls from sliding down the matte white lollipop stick.
- Pinterest-Ready Aesthetics: From the delicate cluster of white sugar nonpareils to the vibrant pink hue, these are designed to go viral.
If you love these handheld delights, you might also enjoy our mini ice cream cakes or perhaps a refreshing strawberry shortcake for your next summer gathering.
The Secret Architecture of a Perfect Cake Pop
To understand this cake pop recipe, you must understand the “glue.” Many beginners make the mistake of using too much frosting, resulting in a greasy, mushy mess. A professional cake pop is essentially a “truffle” made of cake. By finely processing the cake into sand-like crumbs before adding the binder, you create a uniform, brownie-like texture that looks stunning when you take that first bite.
The exterior is equally important. We use a combination of high-quality white chocolate or candy melts thinned with a touch of coconut oil. This specific addition is what creates that glossy bubblegum pink chocolate coating seen in the world’s most famous cafes. It provides a tactile, “snap” sensation followed by a smooth melt-away finish.
Essential Ingredients for Success
The Cake Base
1 box (approx. 432g) White or Vanilla Cake Mix: This serves as our structural foundation. We will be tinting this a deep pink to match the visual blueprint.
1 cup (240ml) Water, 1/2 cup (120ml) Vegetable Oil, and 3 Large Eggs: Standard moisture components to bake a sturdy yet soft cake.
Pink Gel Food Coloring: Essential for achieving that moist pink cake crumb. Gel is superior to liquid as it doesn’t alter the chemistry of the batter.
The Binder & Coating
1/2 cup (120g) Vanilla Buttercream Frosting: Use just enough to turn crumbs into “dough.”
24 oz (680g) Pink Candy Melts or White Chocolate: The source of our thick, ultra-smooth coating. If using white chocolate, you must use oil-based candy coloring.
2 tbsp (30ml) Coconut Oil or Paramount Crystals: The secret to the professional sheen and fluidity.
White Sugar Nonpareils: For that signature delicate cluster on top.
Step-by-Step Instructions to Viral Cake Pops
Step 1: The Deep Pink Cake Foundation
Preheat your oven to 350°F (175°C). Grease a 9×13 inch (23x33cm) baking pan. Prepare the cake mix according to package directions, but add 2-3 drops of pink gel food coloring to the batter. Whisk until the color is a vibrant, deep pink. Bake for 28-32 minutes until a toothpick comes out clean. Allow the cake to cool completely. Using a warm cake will result in gummy, unworkable pops.
Step 2: Creating the Fudgy Crumb
Once cool, trim away any browned edges or “crust” from the top and sides of the cake. You only want the soft, pink interior. Break the cake into large chunks and place them into a food processor. Pulse until the cake resembles fine, uniform sand. Transfer to a large bowl and add the vanilla frosting. Use your hands to knead the mixture until it reaches the consistency of play-dough—it should be dense and moist without any visible air pockets.
While you work on the dough, consider pairing these treats with a frozen strawberry lemonade slush for the ultimate pink-themed party spread.
Step 3: Rolling and Structural Integrity
Scoop about 1 tablespoon (approx. 30g) of the mixture and roll it between your palms to form a perfectly smooth sphere. Each ball should be about 1.25 inches (3cm) in diameter. Place the balls on a parchment-lined baking sheet. Crucial Tip: Chill the balls in the freezer for exactly 15 minutes. You want them firm, but not frozen. If they are too cold, the pink chocolate coating will crack as the cake expands back to room temperature.
Step 4: The Dipping Ritual
Melt your pink candy coating in a deep, narrow microwave-safe bowl in 30-second increments, stirring well between each. Stir in the coconut oil to achieve a glossy, bubblegum pink finish. Dip the tip of a matte white paper lollipop stick into the melted chocolate (about 1/2 inch or 1cm) and insert it halfway into a chilled cake ball. Let this “anchor” set for 2 minutes.
Hold the stick and dip the entire cake ball into the coating in one fluid motion. Do not stir the pop in the chocolate! Lift it straight out and gently tap your wrist to remove the excess. You are looking for a thick, ultra-smooth finish. Before the coating sets, garnish the top with a delicate cluster of tiny white sugar nonpareils.
Expert Tips for a Professional Sheen
- The “Tap and Spin”: When removing excess chocolate, tap your wrist (not the stick) and slowly rotate the pop. This prevents “shoulders” or drips from forming.
- Temperature Harmony: Ensure your melted chocolate is warm but not hot, and your cake balls are slightly chilled but not frozen. This is the only way to ensure zero cracks.
- Fine Crumbs: Using a food processor instead of your hands for the crumbs ensures that uniform, brownie-like texture without large chunks.
- Storage Matters: If you are serving these at a party alongside strawberry watermelon salad, keep the cake pops in a cool, dry place to maintain the professional sheen.
Storage, Reheating & Freezing
These pops are incredibly durable! You can store them in an airtight container at room temperature for up to 3 days. For longer storage, refrigerate for up to a week. If you notice condensation on the glossy pink white chocolate coating after refrigerating, simply let them come to room temperature slowly.
Freezing: You can freeze the undipped cake balls for up to 3 months. Once dipped, freezing is not recommended as the bubblegum pink chocolate coating may lose its luster or develop cracks upon thawing.
What to Serve With Your Pink Treats
These pops are a sweet highlight, so they pair beautifully with savory brunch items. Try serving them after a meal of marry me chicken pasta salad or a fresh marinated white bean salad to balance the sugar. For a festive “Pink Party,” they are the natural companion to a bright pink jungle juice recipe or a swirl of strawberry slush.
Frequently Asked Questions
The secret is using a food processor to turn the cake into fine sand before adding frosting. This removes all air pockets, creating a uniform, fudgy, brownie-like texture rather than a crumbly cake texture.
A small amount of coconut oil or paramount crystals is best. Avoid liquid oils or water-based food coloring, as these will cause the chocolate to seize and lose its glossy sheen.
Cracking usually happens due to extreme temperature differences. If your cake balls are too cold (frozen) and your chocolate is too hot, the cake expands as it warms, cracking the shell. Aim for ‘room temp-chilled’ balls and ‘warm-not-hot’ chocolate.
Make sure you dip the stick into the melted chocolate before inserting it into the cake ball. This acts as a ‘glue.’ Also, ensure your cake balls aren’t too heavy or too soft; chilling them briefly before dipping is essential.
The Perfect Starbucks Copycat Cake Pop Recipe
Cake pop recipe: The Ultimate Starbucks Copycat Pink Treats
Ingredients
Equipment
Method
- Prepare and bake the cake mix with pink gel coloring at 350°F (175°C). Cool completely.
- Trim crusts, then process cake in a food processor until it reaches a fine sand texture.
- Knead crumbs with frosting until a dense, fudgy dough forms. Roll into 1.25 inch (3cm) spheres.
- Freeze the balls for 15 minutes on parchment paper to firm them up for dipping.
- Melt pink candy with coconut oil until ultra-smooth and glossy.
- Anchor sticks with chocolate, then dip the full ball. Tap off excess and add white nonpareils.
Notes
Ensure the chocolate isn't too hot to prevent cracking.
Save This Recipe To Pinterest!
Did you fall in love with that glossy bubblegum pink chocolate coating? Don’t lose this cake pop recipe! Pin it to your “Dessert Goals” or “Starbucks Copycat” board right now by clicking the Pin button. We would love to see your creations—post a photo of your finished pops in the comments below! If you found these tips helpful for achieving that dense moist pink cake crumb, please leave us a 5-star rating. Follow @stacy_bites for more visual baking guides!