There is nothing quite like the nostalgic pull of a cold, thick chocolate treat from a drive-thru, especially when it carries that iconic “not quite a shake, not quite soft-serve” texture. This Wendy’s Frosty Slushie recipe is designed to recreate that exact sensory experience in your own kitchen, complete with the velvet-smooth finish and those elusive micro-ice crystals that define the original.
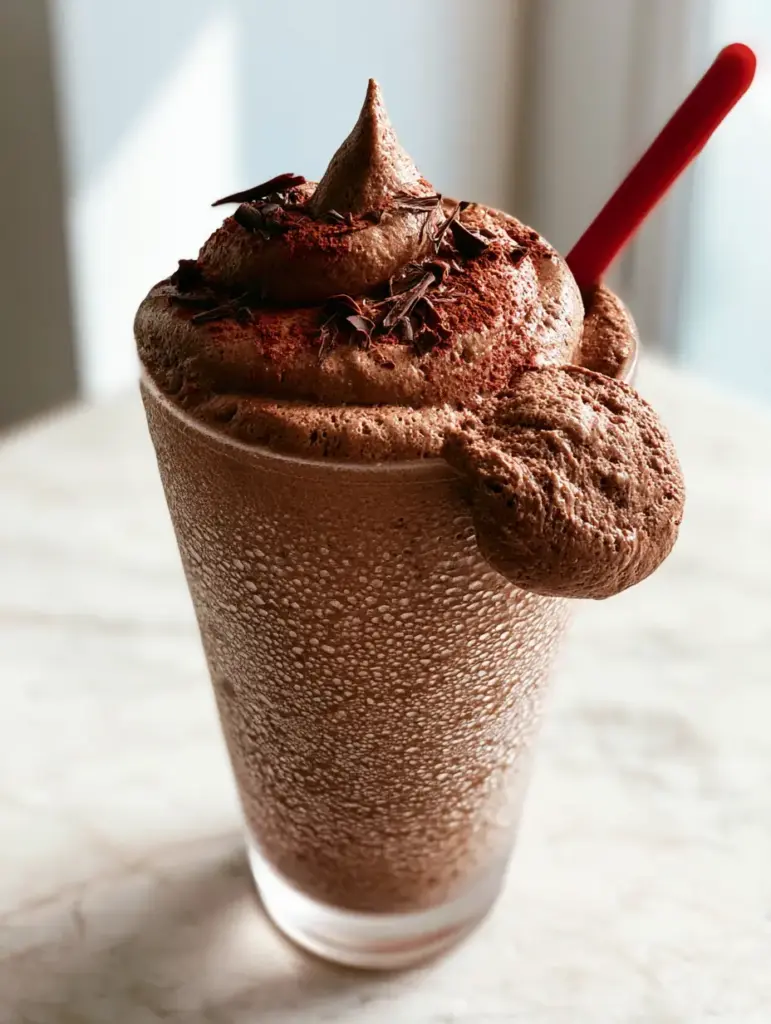
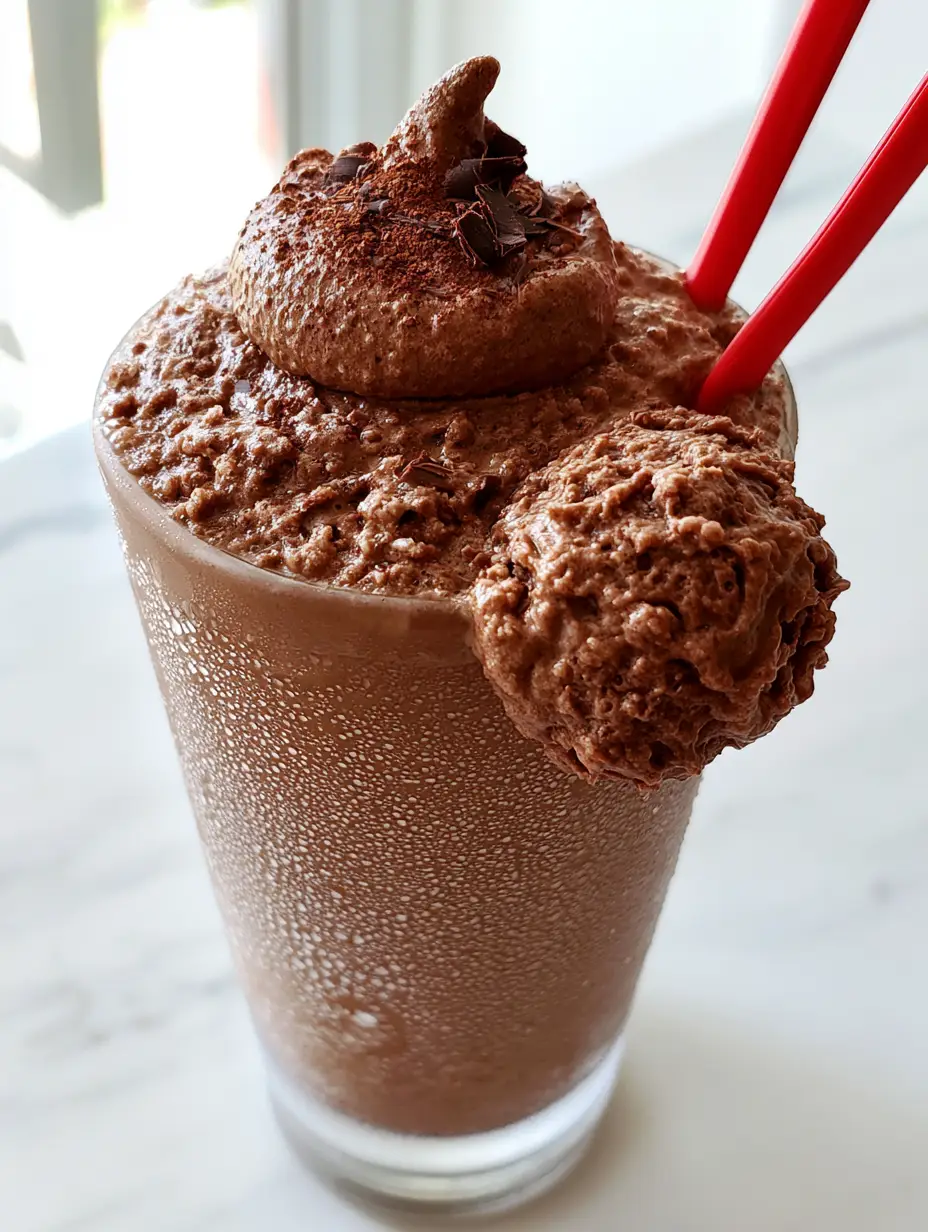
Imagine a tall, frosted glass where the exterior is beaded with fine droplets of condensation, signaling a deep, soul-satisfying chill. The mixture inside forms a perfect soft-serve peak and swirl at the top, just waiting for that signature red plastic spoon to dive in and lift a thick, aerated scoop.
By combining a few high-quality pantry staples with professional freezing techniques, we are going to bridge the gap between “homemade” and “fast-food perfection.” Whether you are looking for a cooling summer treat or a way to elevate your next dessert spread, this recipe delivers on every visual and textural promise.
The Anatomy of the Perfect Chocolate Slushie Texture
- Micro-Ice Crystal Formation: Unlike standard milkshakes, this recipe balances a high fat content with specific freezing intervals to ensure the ice crystals remain microscopic and slushy.
- Aerated Soft-Serve Peak: The use of frozen whipped topping introduces millions of tiny air bubbles, allowing the mixture to hold a swirl even at room temperature for several minutes.
- Velvety Mouthfeel: The sweetened condensed milk acts as a stabilizer, preventing the chocolate milk from freezing into a solid block and instead creating a scoopable, thick consistency.
- Gourmet Visual Cues: We elevate the classic look with a delicate dusting of cocoa powder and razor-thin dark chocolate curls for a high-end food aesthetic.
- Iconic Presentation: Using a chilled glass ensures the condensation droplets form instantly, mimicking the cold-chain freshness of a professional kitchen.
The Secret Trio: What You Need for the Ultimate Slushie
1/2 gallon (1.9L) Chocolate Milk: This is your flavor foundation. Choose a high-quality, whole-milk chocolate dairy for the richest results; the higher the fat content, the creamier the micro-crystals will be.
14 oz (397g) Sweetened Condensed Milk: This “liquid gold” provides the necessary sugar density to lower the freezing point. It ensures the drink remains a slushie rather than an ice cube, providing that signature “sticky” sweetness.
8 oz (225g) Frozen Whipped Topping: Thawed slightly before mixing, this ingredient is the secret to the aerated, light-as-air texture. It transforms a simple frozen milk drink into a stable, thick masterpiece that holds its shape on a spoon.
2 tbsp (15g) Unsweetened Cocoa Powder: While the chocolate milk provides the base, a fine dusting of cocoa powder on the final peak adds a sophisticated bitterness that cuts through the sweetness.
1 oz (28g) Dark Chocolate Bar: Use a vegetable peeler on a room-temperature bar to create those delicate, razor-thin dark chocolate curls seen in our visual blueprint.
1/4 tsp (1.5g) Fine Sea Salt: A foundational “invisible” ingredient. Salt is scientifically required to enhance the perception of cocoa and balance the heavy sugars in the condensed milk.
Essential Equipment for a Pro-Level Finish
To achieve the visual result of a handheld smartphone photo with high-end aesthetics, you will need a high-powered blender. This allows you to pulverize the mixture into a uniform consistency without melting it too quickly.
A large, shallow freezer-safe container is also vital for the “scrape and freeze” method if you do not own an ice cream maker. This ensures the micro-ice crystals are distributed evenly rather than settling at the bottom of the bowl.
Finally, keep a vegetable peeler and a fine-mesh sieve on hand. These tools are the keys to the professional garnishing that turns a simple drink into a social-media-worthy Wendy’s Frosty Slushie recipe.
The Masterclass: Step-by-Step Slushie Construction
Phase 1: The Base Homogenization
In a large mixing bowl or a high-capacity blender, combine the 1/2 gallon (1.9L) of chocolate milk with the 14 oz (397g) of sweetened condensed milk. Use a whisk or a low-speed pulse to ensure the thick condensed milk is fully integrated into the thinner chocolate milk base.
Add the 1/4 tsp (1.5g) of fine sea salt at this stage. You want the salt to dissolve completely so that every sip carries a balanced flavor profile that highlights the chocolate’s depth.
Phase 2: Folding for Aeration
Gently fold in the 8 oz (225g) of whipped topping using a silicone spatula. Do not over-mix; you want to maintain the air bubbles within the topping, as this is what creates the “peak and swirl” later on.
The mixture should look like a pale, thick chocolate soup at this point. If you are using a blender, a final 5-second pulse will ensure a perfectly smooth, uniform color without deflating the mixture.
Phase 3: The Slow-Freeze Scrape Method
Pour the mixture into a shallow metal pan and place it in the coldest part of your freezer. Every 30 minutes, remove the pan and use a sturdy whisk to scrape the edges and stir the middle, breaking up any large ice shards.
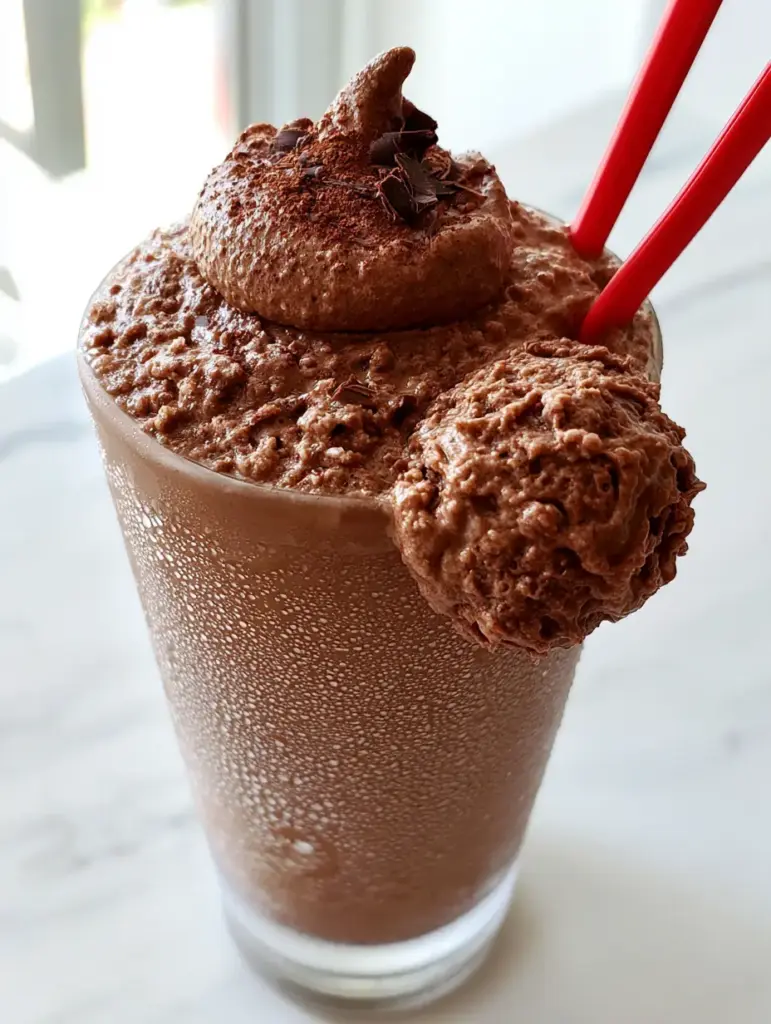
Continue this process for 3 to 4 hours. You are looking for a specific visual cue: the mixture should be thick enough to hold a “V” shape on a spoon but still soft enough to pour. This creates the micro-ice crystals mentioned in our visual prompt.
Phase 4: The Final Whip and Pour
Once the texture is slushy and firm, give it one final vigorous whisk. This incorporates a last burst of air, giving it that velvety, soft-serve look. Transfer the mixture into a pre-chilled tall glass immediately.
Use a spoon or a piping bag to create a soft-serve peak at the top of the glass. The chilled glass will cause bead-like droplets of condensation to form on the exterior almost instantly, providing a beautiful contrast to the thick chocolate interior.
Phase 5: The Gourmet Garnish
Hold a fine-mesh sieve over the glass and lightly tap 1 tsp (5g) of cocoa powder over the peak. This creates a soft, matte dusting that catches the natural daylight beautifully.
Using a vegetable peeler, shave the dark chocolate bar directly over the top. The razor-thin curls should rest gently on the cocoa-dusted peak. Insert the signature red spoon partially into the mixture to reveal the thick, aerated texture beneath the surface.
Expert Tips for Success
- Chill Your Glassware: Place your glasses in the freezer for at least 20 minutes before serving. This isn’t just for looks; it prevents the slushie from melting at the edges while you are garnishing.
- The Fat Factor: If you find the chocolate milk available is too thin, whisk in 1/2 cup (120ml) of heavy cream to increase the fat content for an even creamier mouthfeel.
- Avoid the “Ice Block”: If you leave the mixture in the freezer overnight, it will become too hard to scoop. Simply let it sit on the counter for 15 minutes and give it a quick pulse in the blender to restore the slushie texture.
- Spoon Selection: The red plastic spoon is a psychological part of the experience. The flat edge of the spoon is better for “scraping” the frozen crystals off the side of the glass than a standard metal spoon.
Storage and Preservation
This Wendy’s Frosty Slushie recipe is best enjoyed immediately after its final whip. However, you can store the mixture in an airtight container in the freezer for up to two weeks.
When you are ready to serve leftovers, the mixture will likely be solid. Let it thaw slightly until you can break it into chunks, then blend it with a splash of fresh chocolate milk for 10-20 seconds to bring back the micro-ice crystal consistency.
What to Serve With This Frozen Delight
While this slushie is a standalone star, it pairs beautifully with salty or savory snacks. For a light lunch, try it alongside these Cucumber Sandwiches to balance the richness with fresh, crisp flavors.
If you are in the mood for a full dessert spread, these S’mores Cookies make an excellent dipping companion. The toasted marshmallow and graham cracker flavors complement the chocolate milk base perfectly.
For those looking for a festive breakfast-for-dinner vibe, serving a smaller portion of this slushie with Eggnog French Toast creates a decadent, holiday-inspired treat that your family will rave about.
Planning a summer party? Offer this chocolate slushie next to a refreshing Malibu Bay Breeze or a Raspberry Piña Colada for a diverse menu of frozen beverages that cater to all ages.
Frequently Asked Questions
Yes! Substitute the chocolate milk for chocolate oat milk, use coconut sweetened condensed milk, and a dairy-free whipped topping for a similar texture.
No, an ice cream maker isn’t required. While it makes the process faster, the shallow pan ‘scrape and whisk’ method described in our instructions achieves the exact micro-crystal texture needed.
It is best served immediately, but it can be stored in an airtight container for up to 2 weeks. Just be sure to re-blend or whisk it before serving to restore the aeration.
The secret is the ‘freeze and scrape’ method combined with the high sugar content of sweetened condensed milk, which prevents the chocolate milk from freezing into a solid block, creating tiny slushy crystals instead.
Wendy’s Frostys are historically thick enough to require a spoon. If yours is too hard, let it sit at room temperature for 10 minutes or pulse it briefly in a blender with a tablespoon of milk.
The Definitive Wendy’s Frosty Slushie recipe Card
Wendy's Frosty Slushie recipe: The Ultimate 3-Ingredient Copycat Guide
Ingredients
Equipment
Method
- Whisk together the chocolate milk, sweetened condensed milk, and sea salt in a large bowl until the mixture is fully homogenized and smooth.
- Gently fold in the whipped topping with a spatula, maintaining as much aeration as possible until no large white streaks remain.
- Pour the mixture into a shallow metal pan and place in the freezer for 30 minutes.
- Every 30 minutes for 4 hours, remove the pan and whisk vigorously to break up ice crystals, ensuring a slushie consistency forms.
- Once thick and scoopable, give the mixture a final whisk or a 5-second blender pulse to achieve the soft-serve peak texture.
- Pour into chilled glasses, creating a swirl at the top. Dust with cocoa powder through a sieve and top with dark chocolate curls shaved with a vegetable peeler. Serve with a red spoon.
Notes
If the mixture is too hard after long-term storage, blend for 10 seconds with a splash of milk.
Bring the Drive-Thru Home Today!
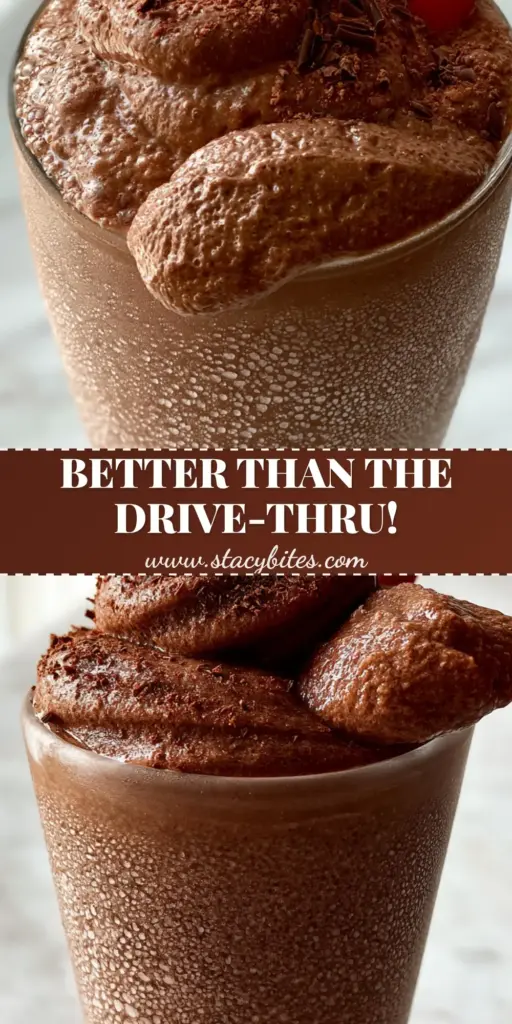
Creating this Wendy’s Frosty Slushie recipe is more than just a culinary project; it is about recreating a specific moment of joy. The combination of thick, velvety chocolate and those refreshing micro-ice crystals makes it a perennial favorite for home cooks everywhere.
We would love to see your results! Did you get that perfect peak? Did the dark chocolate curls turn out paper-thin? Leave a comment below and let us know your favorite way to enjoy this frozen treat. Don’t forget to share your photos and tag us on Pinterest!